What You’ll Learn
- What is Vim and why you need to know it
- Basic file editing and manipulation with Vim
- Some handy options to enable within Vim
- How to use the
.vimrcfile to populate personal preferences
What You’ll Need
- Access to a Linux workstation, container, or virtual machine
- A Dockerfile is provided if you need to use a Docker container on your local system.
- Any DevNet Sandbox with a DevBox host (most reservable instances) will also work for this exercise.
- The DevBox images are universal across sandboxes, but I use the CML-E reservable sandbox.
- macOS systems will have a version of
Viminstalled as part of the base installation as well. - If you are running Windows, it is recommended that you utilize Windows Subsystem for Linux (WSL), either version 1 or 2, and run
Viminside of that. While tools like Cygwin andgVimexist, they are out of scope for this tutorial because they depend on the Windows interpretation of configuration paths and can vary greatly depending on installation methods.
Most days, we live in the world of GUIs. Moreover, the fact that you’re actually reading this tutorial means that you have a functional GUI environment with access to the web. However, many times as engineers (network, system, or otherwise), we’re forced to leverage SSH connections to jump hosts, bastions, or secure resources for configuration purposes.
In those instances, we may be required to edit text files—either configuration files for the local system or configurations for remote network devices that have been staged in the “deployment” directory. Ordinarily, we’d open these configs on our local system with Notepad++/Sublime/UltraEdit/VS Code and modify them to our heart’s content. However, there are instances when we can only use the terminal running our SSH session to perform the file modification, and corporate software compliance disallows installations of software from repositories using yum or apt.
Vim to the rescue! While it may not be the easiest editor to use (initially), its keyboard-centric navigation can save a lot of time once you’ve developed the muscle memory. This tutorial won’t be exhaustive, but it should provide enough context to either get you started on your learning journey or at least allow you to edit that one file and exit the application without having to reboot your system (it’s a Vim joke).
Note: If you have access to a VM, server, or local system with vim installed and don’t wish to use the container, you can safely skip this step. It is preferential to use other systems; however, this container is provided for those who do not have access to any of the above systems. You will need to have Docker installed on your local machine to use this container. This will typically be for Windows users, without WSL or WSL2 installed with a Linux VM. (Docker Desktop for Windows can run in either WSL2 or Hyper-V mode.)
To use the container included with this tutorial, you’ll need to download the following files:
- Dockerfile
- Container build script
- Container run script
- Container stop script
- Container restart script
- Script to regain access to the container shell
- Create a directory to hold the above files:
mkdir ciscou-vim-container/
cd ciscou-vim-container/
- Download the files and place them in this directory.
- Execute the build script; this will pull a Debian Linux container and install
vimwithin the container:
.\container-build.ps1
Note: By default, user-generated PowerShell scripts are not allowed to be run on Windows systems. You can change this either by opening up a PowerShell window with Administrator access (right-click, followed by “Run As Administrator”) and running Set-ExecutionPolicy -ExecutionPolicy Bypass, or you can execute the script by copying the commands from the script and pasting them into a PowerShell window. (You can use the Windows command type to display the contents of a text file.)

- Once the container is built, you will need to execute the run script that will run the newly built container. This will place you into an interactive
bashshell at the home of therootuser.
.\container-run.ps1
- Once at the shell, to exit the container, use the keyboard combination
<CTRL-P><CTRL-Q>(one key after the other, not simultaneously). This will return you to the Windows prompt. - To stop the container, use the container stop script (
.\container-stop.ps1), or paste the command contained within to the Windows shell after exiting the container’sbashshell. - To restart the container, use the restart script (
.\container-restart.ps1). - Once the container is restarted, use the container exec script to drop back into the container shell (
.\container-exec.ps1).
Note: Each of the above scripts is just a single Docker command to speed up the adoption and use of the container. Once you become familiar with Docker and these commands, you may not need to use these scripts at all. Each of them can also be opened with a plaintext editor, such as Notepad++, VS Code, or even Notepad, to view and edit the contents in a GUI.
Once the container is up and running, you can move on to the remaining steps. There is no need to exit the container shell until you complete the rest of the tutorial.
Let’s start by making a folder for the files that we’ll be creating and working with, using the terminal of our choice:
mkdir ~/vim-introduction
cd ~/vim-introduction
Now that we’re in our project directory, we can open up the application. We do this simply by typing vim inside of our folder. We’ll see the window change to something similar to the following (don’t worry if your version numbers don’t match entirely):

This is the default start window for vim, but we don’t need to clear anything to begin editing. However, we need to make sure that we are in the correct “mode” to begin writing. By default, when vim is started, you are in “normal” mode, which allows you to use keyboard shortcuts to navigate through the text. In order to add text, we need to enter “insert” mode by pressing the i key. This will allow you to enter text just as you would within any other text editor. You will see the bottom of the terminal window change to show -- INSERT --, indicating the mode of operation you’re currently in.
As you’re typing, make sure to press the Return key to add a few lines of text. Just because the text wraps around the width of your terminal doesn’t make a new line in the eyes of vim.
Once you have the desired amount of text, you can exit “insert” mode and return to “normal” mode by pressing the Esc key. You should see the -- INSERT -- disappear from the bottom of the window. You can now move around the body of the text you have written with the keyboard. If you would like to add more text, you can either use the i key to insert more text, or you can use the a key, which will “append” text to the file. (Place the text after the cursor, rather than before it.)
Now that we have some text within our editor, we can navigate around using some simple commands. First, most Vim tutorials will indicate that you should navigate single characters without using the arrow keys. On every modern installation of Vim, the arrow keys will work successfully to move you around the document a character or line at a time. This is perfectly acceptable.
It may be beneficial to jump to the beginning or end of a line of text. From wherever your cursor is, you can press the 0 key, and it will return you to the beginning of the line. I choose to think of this as moving to “column 0.” To move to the end of the given line of text, you can press the $ key and it will return you to the end of the line. This one is a bit more “Linux-centric,” but I remember this because the $ is usually the last character in a standard bash shell prompt, so this moves me to the end of the line.
We can also move back and forth using “words.” If we wish to move forward a single word at a time, we use the w key in normal mode. To move back one word, we can use the b key. Two important modifiers to these movements exist: (a) We can preface them with a number to move that many items forward or backward, or (b) Use capital letters to modify the boundaries on which the movement should occur.
In the case of (a), if we add a number (say 5) before the b or w, we will move backward or forward that number of “words” within the line. This can come in handy if you want to skip forward or backward by a large amount. However, when you do this, notice that punctuation marks are included as a word. If you want to skip on “space delineated” words (skipping over punctuation), use the capital letters B and W. This will treat items with punctuation (like IP addresses) as a single item. It is also possible to combine these two pieces together by typing something like 3W or 2B, which will move ahead three or back two WORDS.
Saving Your Document
While not technically navigating, at some point, you’ll probably want to save a document that you’ve written. For this, we must enter “command” mode, which is invoked by typing the : character, and entering a command. There are many commands that you can enter within this mode, but we’ll focus on how to save a file and (optionally) exit the program.
Within vim, if we choose to save the document, we can do so by typing :w, followed by pressing <ENTER>. This “writes” the on-screen text (known as a buffer in Vim-speak) to a file. If we attempt to use this command on our current buffer, which has no file associated with it, we’ll receive an error message indicating that no filename exists. For this to work, we’ll need to add a filename at the end of the command, like :w vim-test-1.txt followed by <ENTER>. Vim will indicate that the file has been written.
If we wish to save and exit Vim in a single command, you can either use :x or :wq (appending the desired filename as appropriate). Each of these commands will save the current text in the buffer and return you to the shell. If you wish to exit Vim, you can use :q to “quit”; however, if there is text in the buffer that has not been written to a file, Vim will not let you quit without either saving the buffer or overriding the quit action, which can be done by typing :q!.
Whichever method you choose to save your document (or discard it entirely), we’ll want to open up a new instance of Vim for the next navigation exercise.
Moving within a Document
In addition to moving within a line, it is possible to move within a larger subsection of the document. For this example, you’ll want to either save the included long paragraph file or open it up and copy and paste it into your Vim window. (If you copy the text from the file, enter insert mode within a Vim instance and paste using the normal keyboard shortcut; it will be added to your Vim buffer.) Using this file, we can begin to navigate larger pieces of text.
At any one point, only so much of the active buffer is displayed on the screen. You can navigate through different locations of the screen by using H, M, or L, which will move your cursor to the top (“H"igh), “M"iddle, or bottom (“L"ow) part of the screen. However, unlike many other Vim commands, these will not move your cursor to a new screen; the navigation will only occur with what is currently visible. However, you can use the CTRL + f key combination to move to the next screen, or CTRL + b to move backward a screen. If pressed multiple times (and the current file in the buffer is long enough to span several screens), these two commands will continue to paginate forward or backward through the screens.
In addition to navigation by screens, it may be useful to navigate by paragraphs. In the sample text, while “paragraph” is technically a single line of text, you can move between these individual paragraphs by using the curly brace characters, { and }, which will move your cursor to the beginning or end the current paragraph, respectively. If these keys are pressed multiple times, then the cursor will move to the beginning (or end) of the next (previous) paragraph, allowing you to quickly move through large sections of text. Like most Vim commands, you can preface the curly brace with a number to move a given number of paragraphs at a time; for example, using 4{ will skip to the front of the 4th paragraph from your cursor.
Finally, it may be necessary to jump to the beginning of the file, no matter where you’re at. In these instances, a quick press of gg will take you all the way home.
The last really important piece of knowledge around the use of Vim is searching for a string within a given buffer. This is done by typing :/<string>, where <string> is the text you want to find within the document. Using the / search, Vim will search the document in the forward direction for an instance of that string and move the cursor to that instance of it. To move to the next instance of that string, press the n key—or you can move to the previous instance of that string by typing N. In some instances, it may be advantageous to search for a string in the reverse direction (from the cursor position to the beginning of the document), which can be accomplished by using the :?<string> command, with both n and N performing the same functions as the other direction.
In either directional case, Vim will notify you if you have reached the end (or beginning) of the document and that it will restart the search, so you don’t need to be fully aware of which direction you’re searching, because both will eventually capture the full buffer.
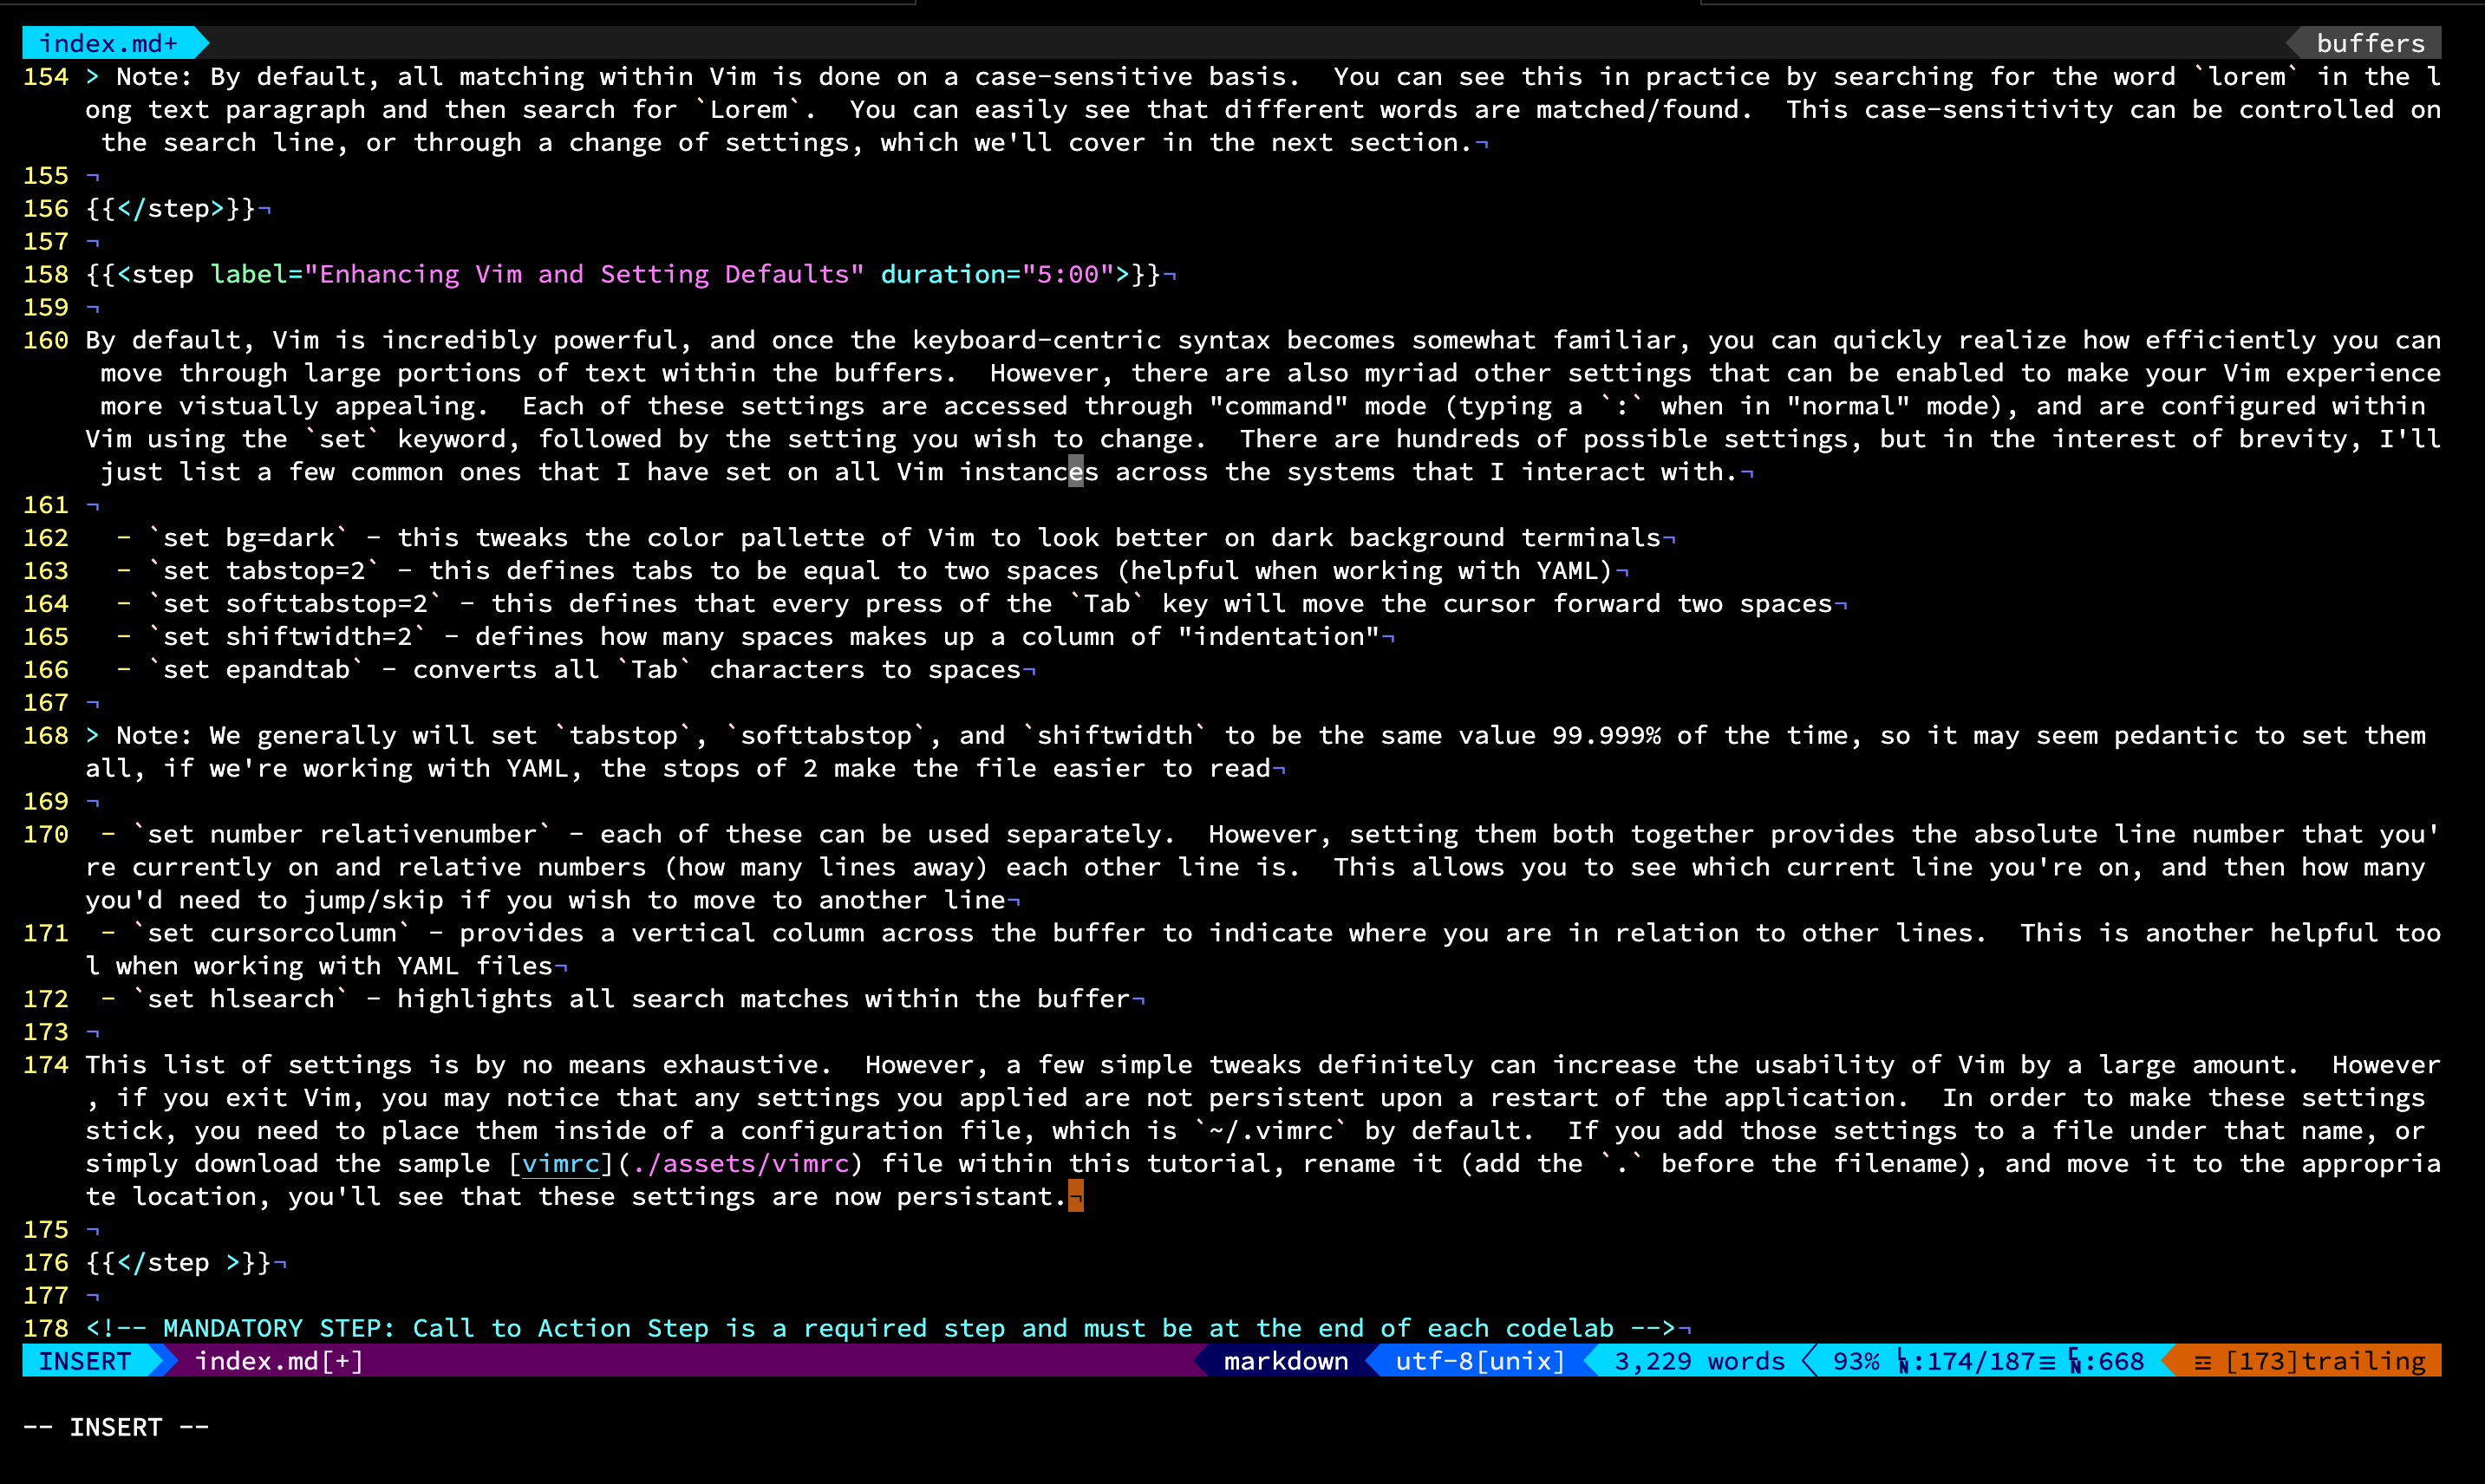
Note: By default, all matching within Vim is done on a case-sensitive basis. You can see this in practice by searching for the word lorem in the long text paragraph and then search for Lorem. You can easily see that different words are matched/found. This case-sensitivity can be controlled on the search line or through a change of settings, which we’ll cover in the next section.
Vim is incredibly powerful, and once the keyboard-centric syntax becomes somewhat familiar, you can quickly realize how efficiently you can move through large portions of text within the buffers. However, there are also myriad other settings that can be enabled to make your Vim experience more visually appealing. Each of these settings is accessed through “command” mode (typing a : when in “normal” mode) and configured within Vim using the set keyword, followed by the setting you wish to change. There are hundreds of possible settings, but in the interest of brevity, I’ll list just a few common ones that I have set on all Vim instances across the systems that I interact with.
set bg=dark: Tweaks the color palette of Vim to look better on dark background terminalsset tabstop=2: Defines tabs to be equal to two spaces (helpful when working with YAML)set softtabstop=2: Defines that every press of theTabkey will move the cursor forward two spacesset shiftwidth=2: Defines how many spaces makes up a column of “indentation”set epandtab: Converts allTabcharacters to spaces
Note: We generally will set tabstop, softtabstop, and shiftwidth to be the same value 99.999 percent of the time, so it may seem pedantic to set them all. If we’re working with YAML, the stops of 2 will make the file easier to read.
set number relativenumber: Each of these can be used separately. However, setting them both together provides the absolute line number that you’re currently on and the relative numbers (how many lines away) that each other line is. This allows you to see which current line you’re on and then how many you’d need to jump/skip if you wish to move to another line.set cursorcolumn: This provides a vertical column across the buffer to indicate where you are in relation to other lines. This is another helpful tool when working with YAML files.set hlsearch: This highlights all search matches within the buffer.
This list of settings is by no means exhaustive. However, a few simple tweaks definitely can increase the usability of Vim by a large amount. If you exit Vim, you may notice that any settings you applied are not persistent upon a restart of the application. In order to make these settings stick, you need to place them inside of a configuration file, which is ~/.vimrc by default. If you add those settings to a file under that name, or simply download the sample vimrc file within this tutorial, rename it (add the . before the filename), and move it to the appropriate location. You’ll see that these settings are now persistent.
Congratulations—you’ve begun your Vim journey! You may even get so hooked on it that it becomes your editor of choice. In fact, this entire tutorial was written in my own (highly customized instance) of Vim!